Sunday, September 15, 2013

Fridge Magnets DIY


I'm a collector.
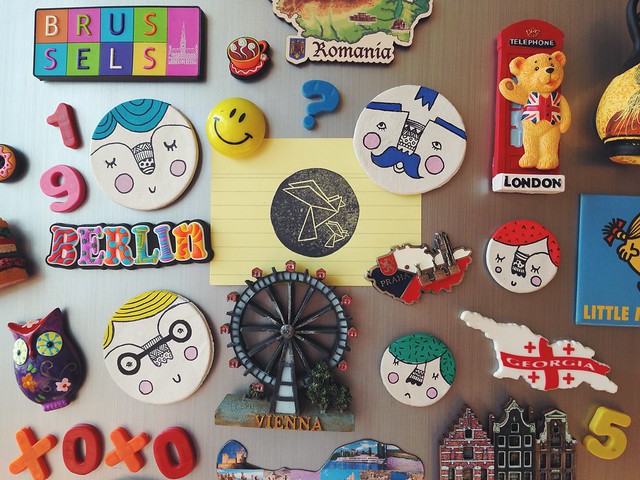
I collect too many things all at once: old coins, stickers, notes, magnets. Ah, magnets. I get a little excited every time I visit a new country just because I get to spend some time picking the most beautiful ones. And because I'm not planning a trip anytime soon - why not creating some handmade magnets?


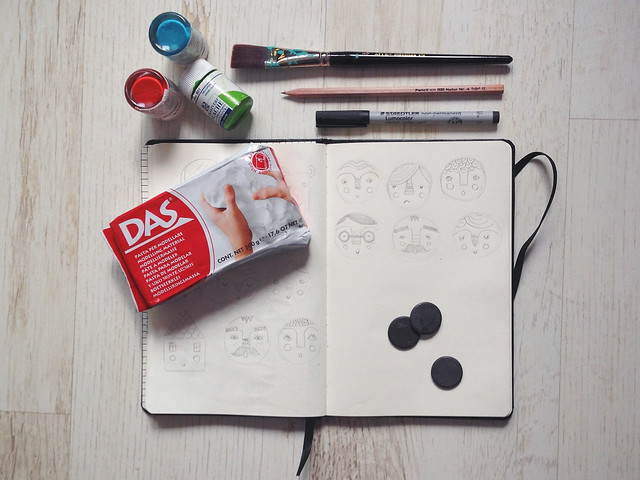
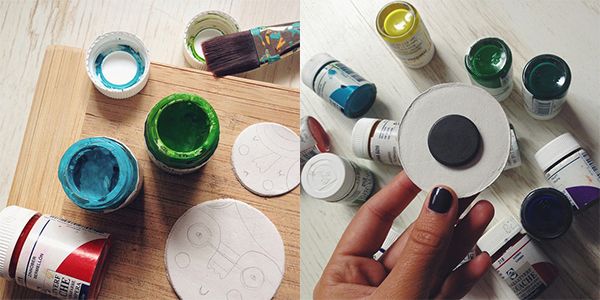
The materials needed are simple: easy-dry clay, paint and brushes, neodymium magnets, quick-dry glue, pencil and permanent markers for the final decoration.
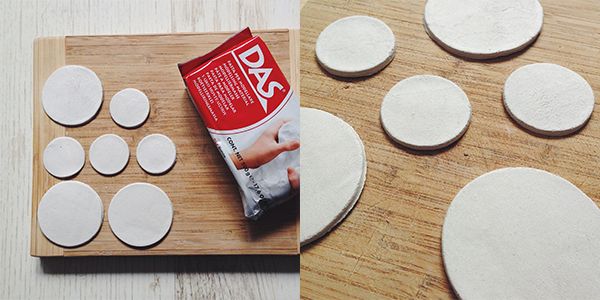
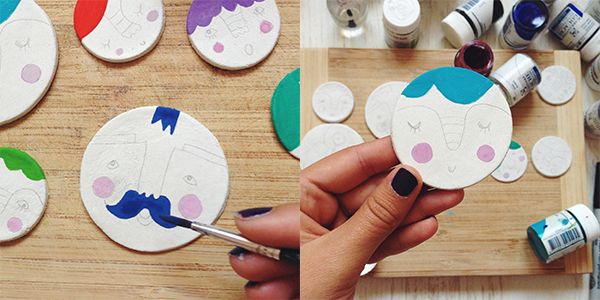
First off, you need to decide what shape your magnets would be. I was lazy, I admit it, so I only cut a couple of circles out of a thin layer of clay and left them on a flat surface to dry overnight.


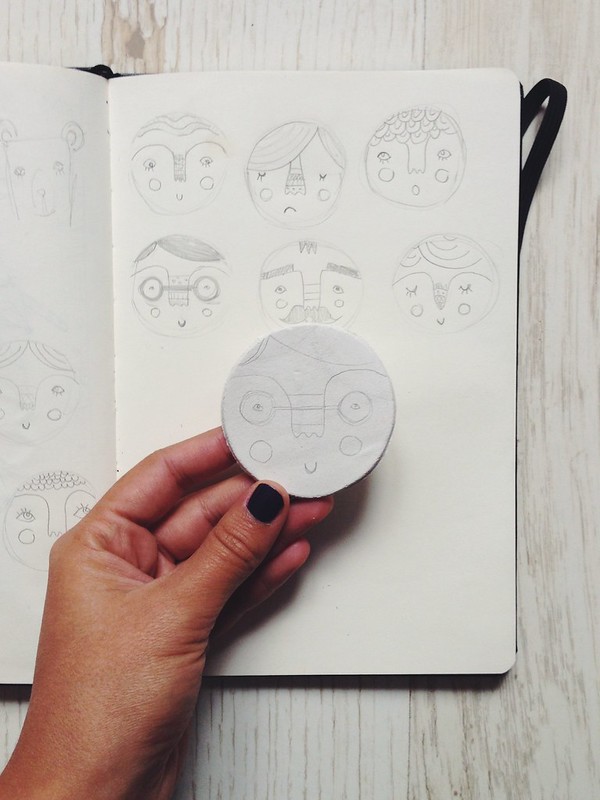
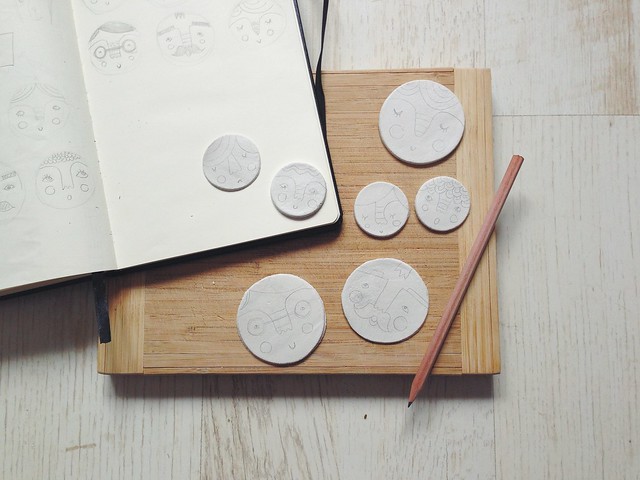
Once the clay had completely dried off, I started lightly sketching my designs on with a pencil. You might skip this step and start colouring right away - I just wanted to have some guides. If you use a pencil though - don't get too serious. Erasing it from the clay is a little difficult and leaves smudges on the surface that wouldn't look cool unless you cover them with colour.


I used poster paint because it is permanent and because it hardly loses its color intensity over time. I am not sure if watercolours would be a good idea, since the clay is also water-based, but play around - it might work as well. Or you could try permanent colour markers.


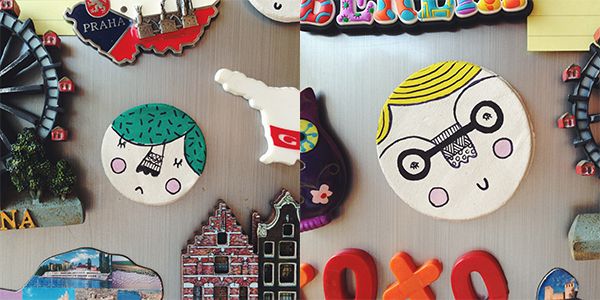
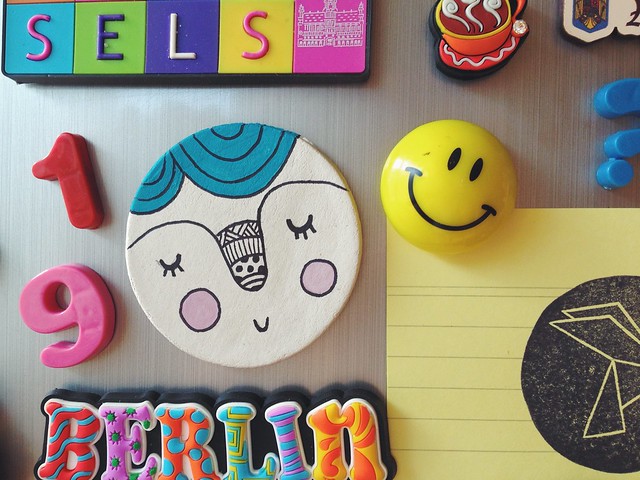
It takes a couple of minutes for the poster paint to dry, so by the time you've painted your last magnet (if you're making, like, more than three) the first one would be ready. You can then add outlines and textures using permanent markers. And only one more thing before your magnets are good to go - because, let's face it, they're not yet magnets. Take your easy-dry glue, dab a generous amount of it on the backside of your work and stick on the magnet. A couple of seconds later you're absolutely ready!


Have fun creating your own fridge magnets and don't forget to share them! :)

Thursday, September 12, 2013

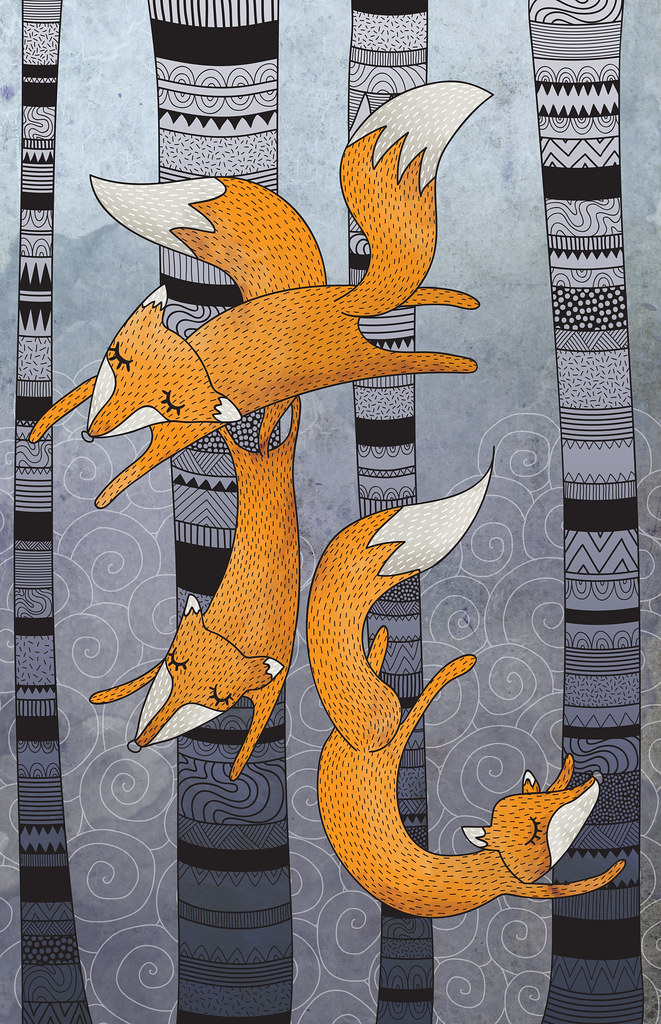
Falling Foxes Illustration


"You become responsible, forever, for what you have tamed"
- Antoine de Saint-Exupéry, The Little Prince

You can find this illustration of Falling Foxes on my Etsy shop.

Friday, September 06, 2013

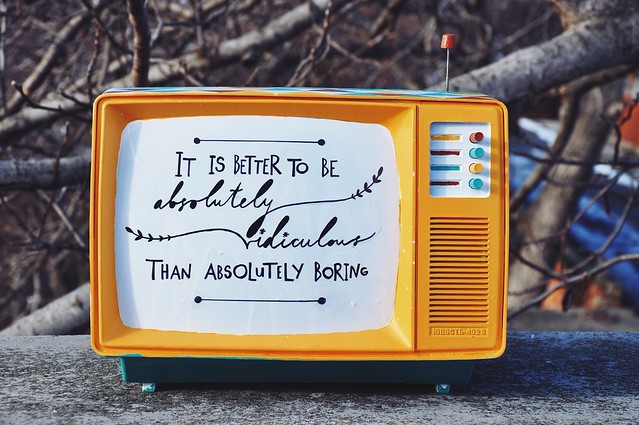
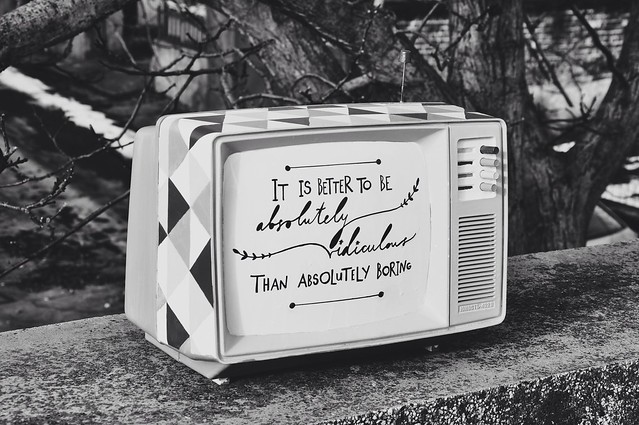
It is better to be absolutely ridiculous than absolutely boring


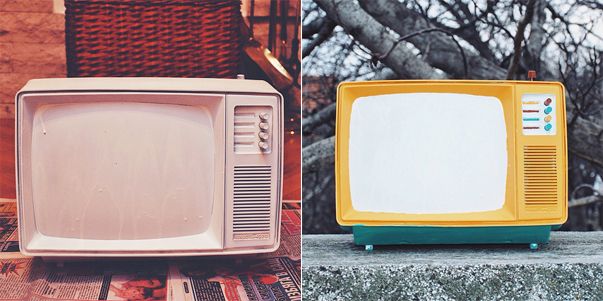
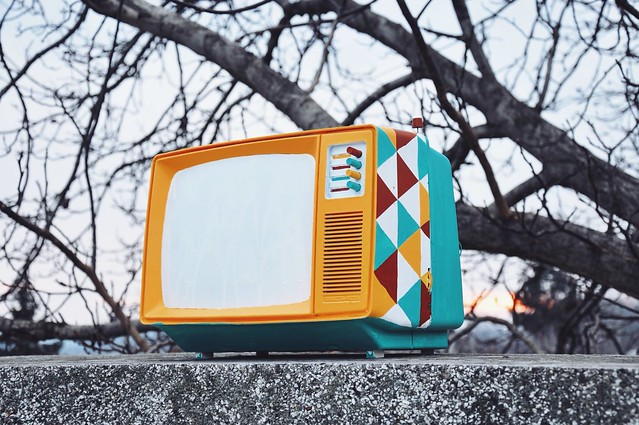
Long story short: I found a broken TV in our basement a couple of months ago. It looked so tiny and cute that I didn't want to throw it away. It was a freezing winter, I didn't have anything better to do (aside from studying for exams) so I took out some paint and brushes and decided to have some fun. 


I spray-painted the TV in white and let it dry completely for a day. It took about three or four coverings to hide the original color, especially the dark frame around the screen. Оnce the TV was all white, applying paint was pretty easy. I had chosen a favourite colour combination and a simple geometric texture (triangles have always been a soft spot). I used masking tape to keep the borders clean and two, sometimes three coats of paint to get a vibrant, vivid shade. The quote came last - Marilyn Monroe has said it quite well, hasn't she? It is better to be an absolutely ridiculous yellow TV with a quote on the screen, than one that has ninety-nine thousand channels and still cannot show you anything better.
Тhe original idea behind it all was to put the TV somewhere around town for passers by to see. I talked with a lot of people in order to find the best spot for it, but somehow we always ended up with nothing. We couldn't think of a place where the TV could be safe and visible at the same time. So it now resides in my room waiting to find a proper home.


Sunday, September 01, 2013

Hello, September


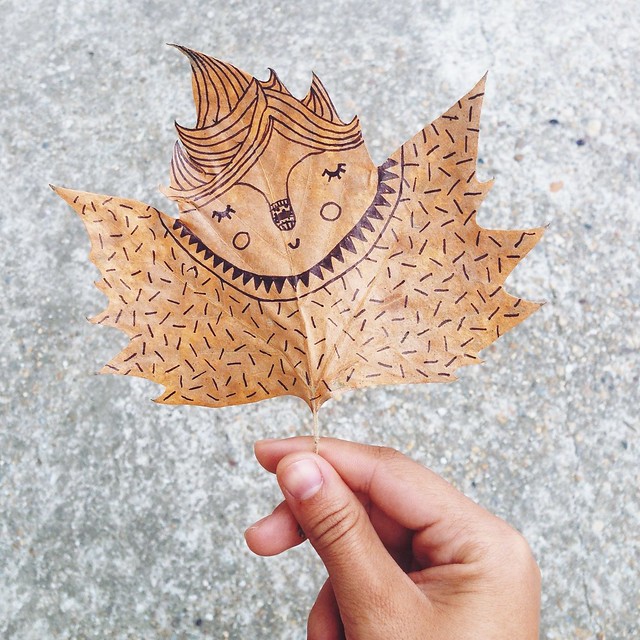
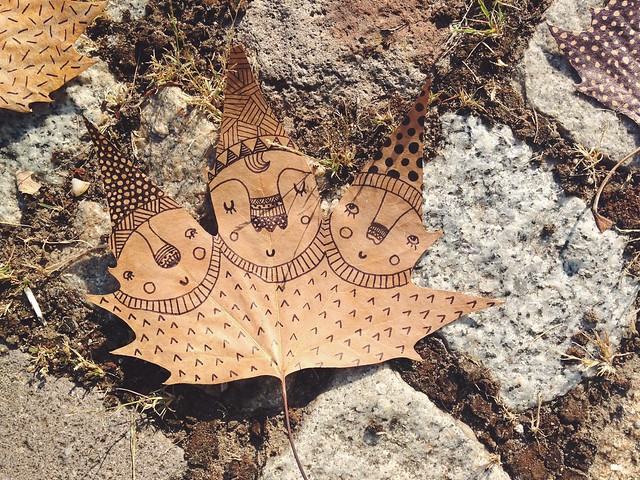
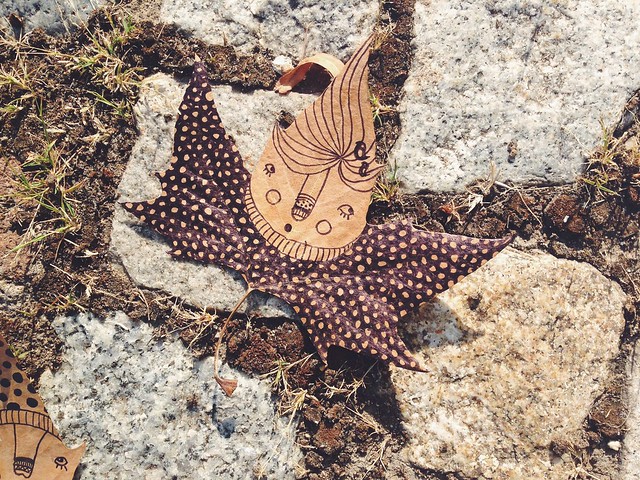
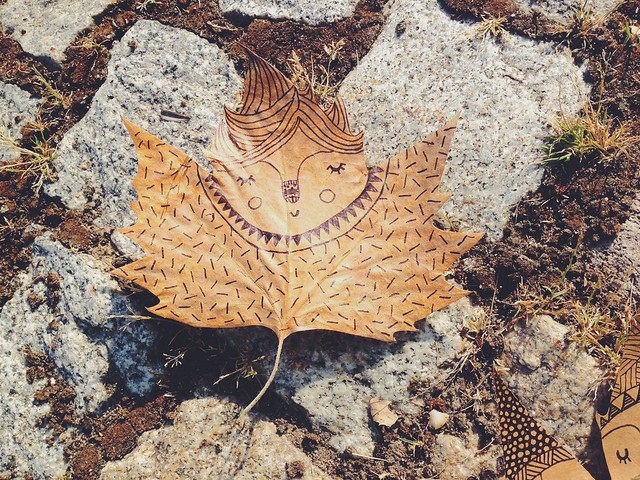
I'm glad it's September already. I love chilly mornings and sweater weather and rainstorms and how everything looks during autumn. I decided to create a couple of autumn-loving characters to welcome September and besides - after having so much fun painting on stones and sea shells - it was only natural to try out leaves, too.


There is something very relaxing in working with natural materials. Working with stones was easy, because the surface is flat and the material is easy to paint on. Leaves, on the other hand, are very delicate and can easily be damaged if not handled with care. I used permanent markers with soft tips for the illustrations and pressed the painted leaves afterwards to preserve their form. This is the perfect home decoration for September, or - even better - the cutest little gift for a complete stranger in the park.
I haven't used anything to keep the leaves from drying out completely, so I guess it won't take long before they get crispy and start to crumble. Nevertheless, they have served their purpose.
Hello, September.


Saturday, August 31, 2013

ETSY Shop now open!


Exciting news! My Etsy shop is now up and running!
I can't believe it actually took me so long to organize everything and I am very glad it is finally live.
I will be slowly adding new prints and other fun itmes over the next few months, so stay tuned!

Thursday, August 29, 2013

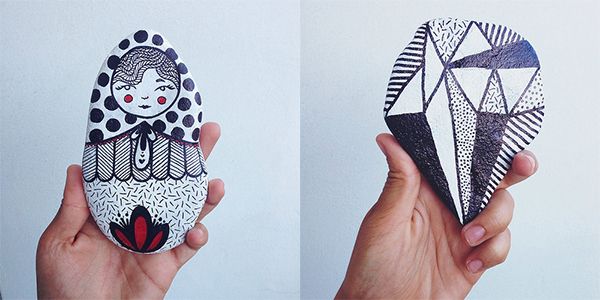
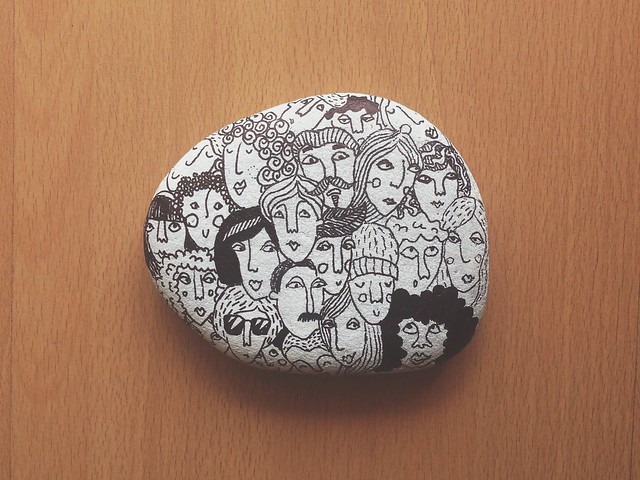
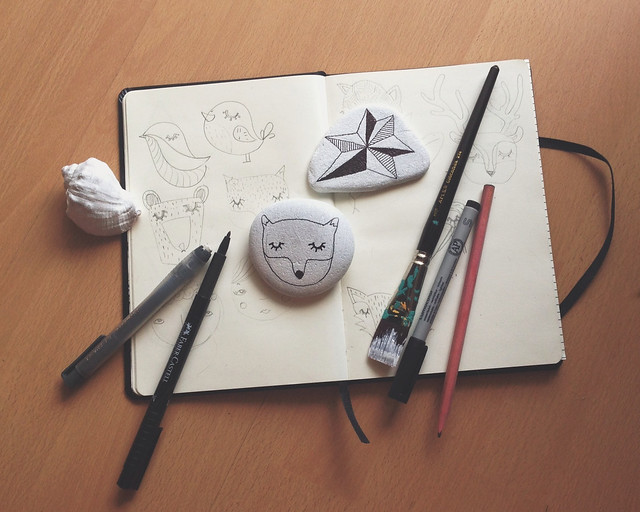
Stone Painting


A couple of weeks ago three little girls approached me and a friend of mine to sell us freshly painted sea shells. They had carefully arranged the shells in a wooden box and had еven prepared a short presentation for every piece. The girls wanted a new bike and had found the cutest way of saving money for it.
I loved the idea. I was thinking about it the whole time I was by the sea and couldn't stop collecting sea shells. Not because I wanted a new bike (though now that I think of it I might as well enjoy a sky-blue one with a flower basket upfront) but because I loved how the shells looked in a set.
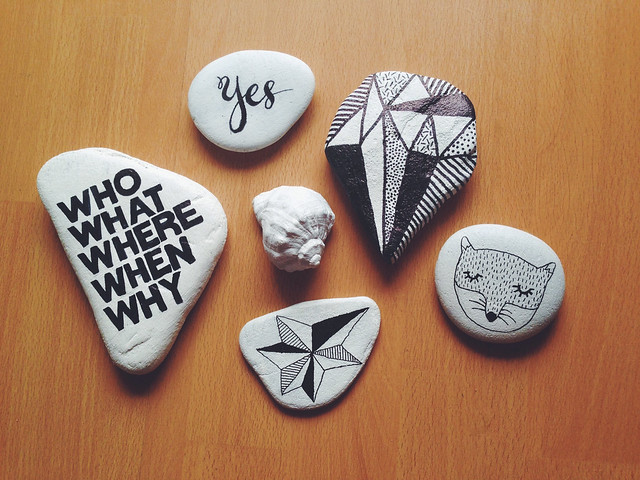
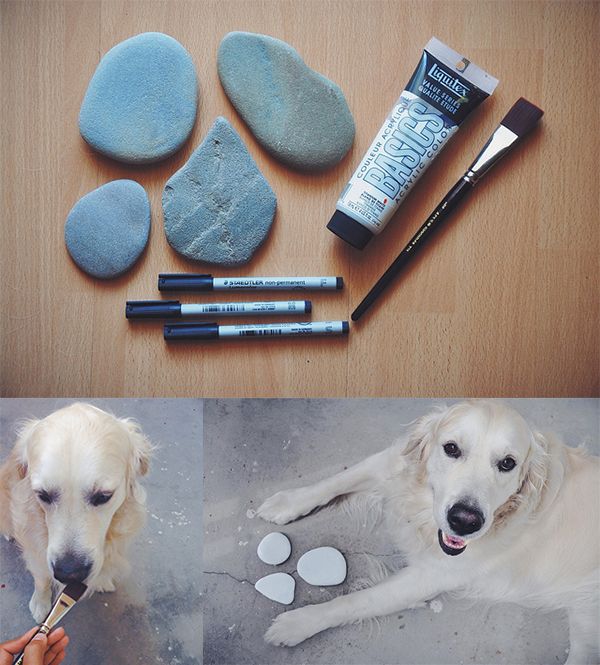
Later on I decided sea stones would be a better alternative since they are flat and easier to paint on and -  believe me when I say this - I came home with a bag full of nothing other than stones in different shapes.


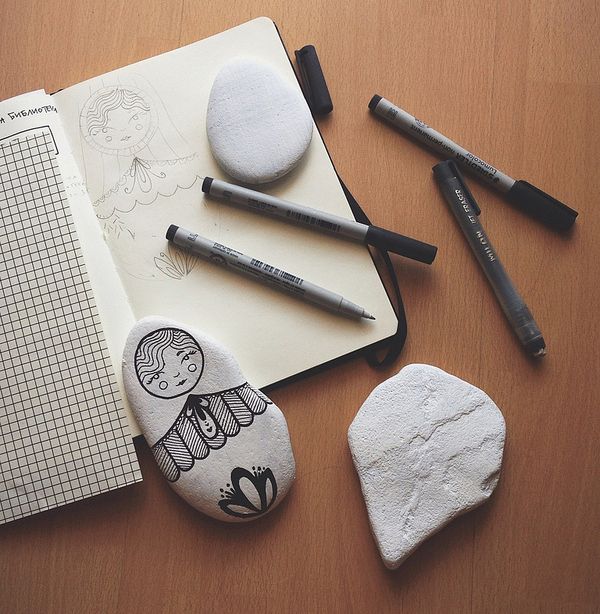
Stone painting turned out to be a lot of fun. Dexter enjoyed it too. He picked all the materials himself and carefully examined the whole process. We both decided to keep it simple, so we covered the stones in white paint and let them dry overnight. Some of us were so dedicated they slept outside, protecting the painted stones during the night.
It was fun to play with the shapes of the stones and come up with what best would suit them. One was the perfect diamond shape, another looked like a russian doll and I wanted to keep that and work with it. I didn't feel like playing with colours, but experimented with textures, types and illustrations instead. It turned out great, because all the stones are pretty different from one another.


I had so much fun painting all of them. I think I might've just discovered my newest hobby. I rarely put    my laptop and tablet down when it comes to drawing and a small change always feels good. Besides, this is the perfect teamwork for me and Dexter. 
We might just go out and collect some more stones in a bit, actually. 

Friday, August 09, 2013

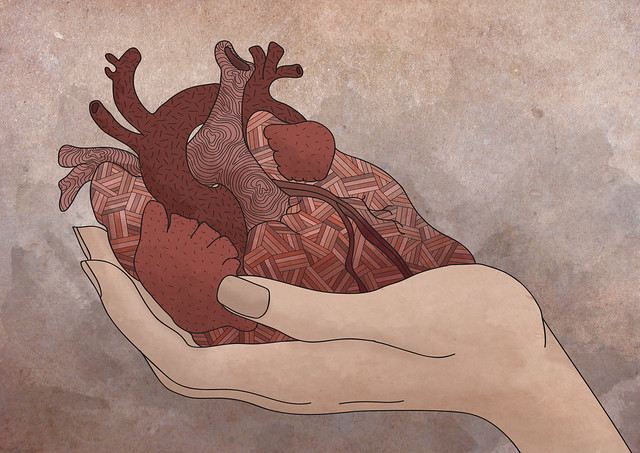
Careful with that


I might not be a doctor, but I know a thing or two about a heart. 

Tuesday, July 16, 2013

The spaces we create are who we are.


I love my hometown.
I like the architecture, I like the park early in the morning, I like taking long walks near the Danube. Being back in Rousse brings up so many good memories and it is all so nice, but I had been having the feeling that something was missing (aside from all my dear people around the world). It took me quite some time to realize what that was and when it hit me... I decided to immediately do something about it.
Rousse is missing art. Any kind of art. You could see the occasional tags or graffiti here and there, but that's it. And that, I don't like.
I am a huge fan of random street art and simple installations. It gives spirit and colour to a seemingly ordinary place and transforms it completely. So I started scribbling down ideas in my notebook of how to change things around here. I had to begin from somewhere.
I decided to make a couple of messages and put them on random places around town as a start. I didn't think about details: I didn't have a single clue about the materials I would need or whether it would be possible to hang the messages as high as I originally had imagined it. Luckily, it all came naturally.


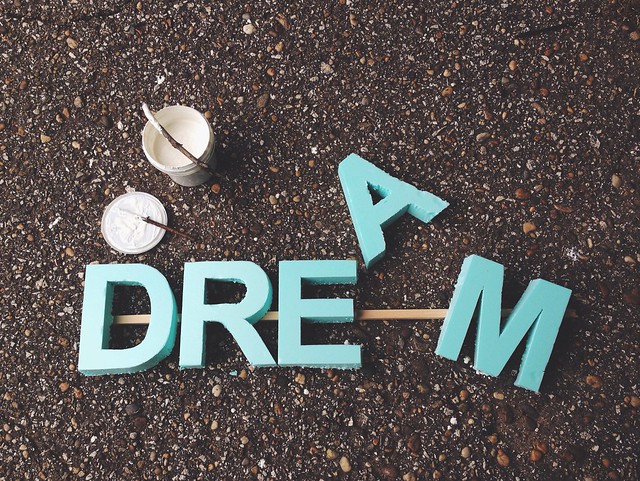
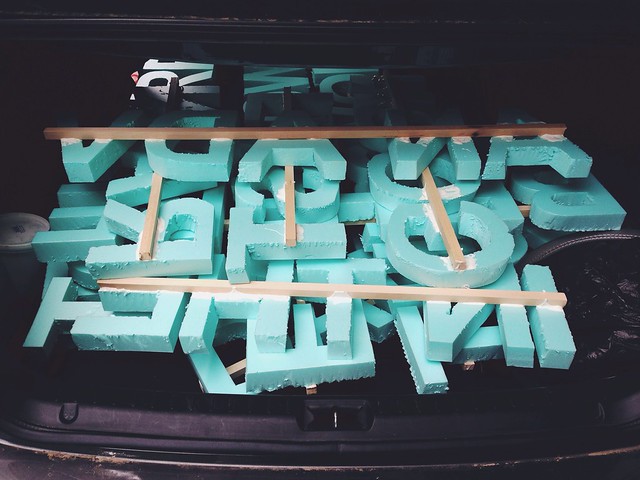
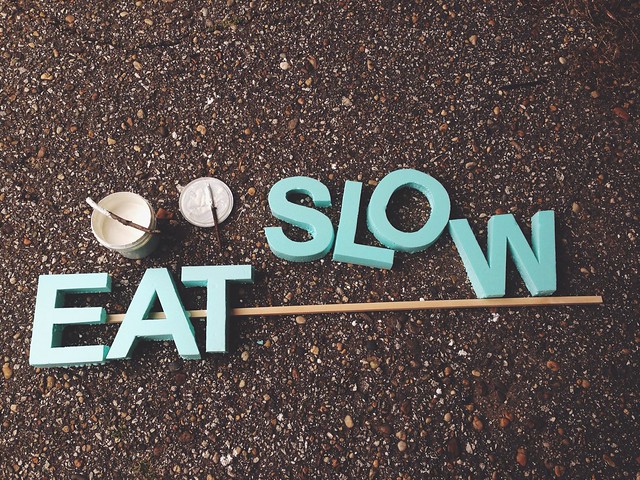
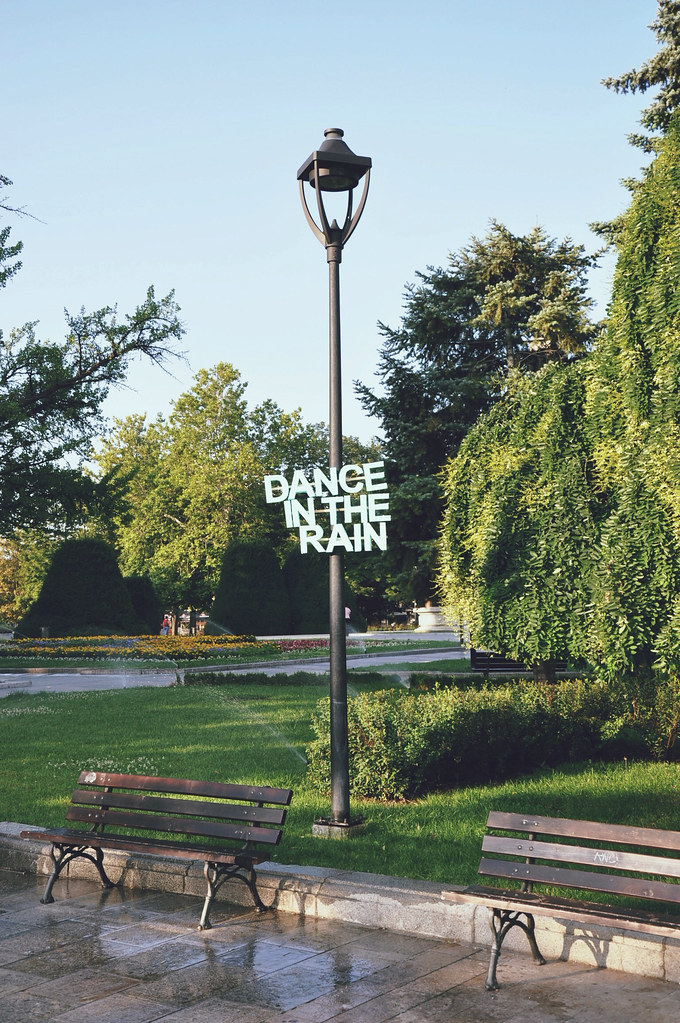
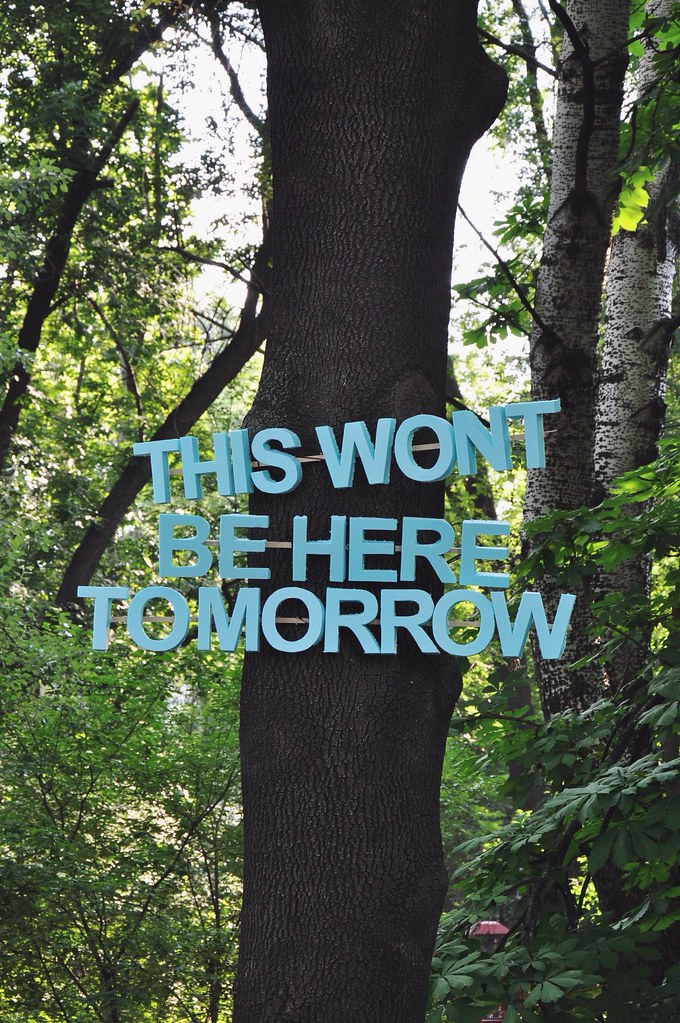
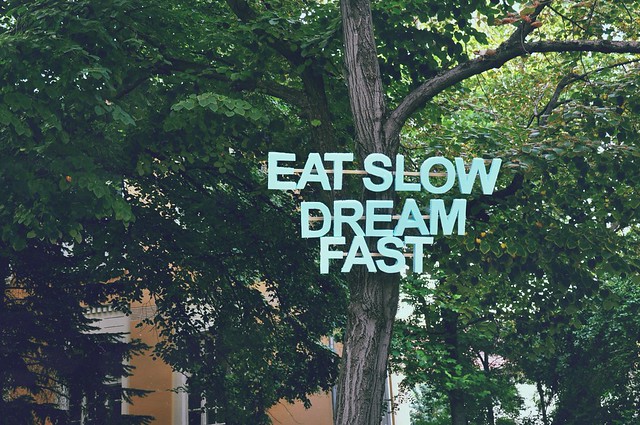
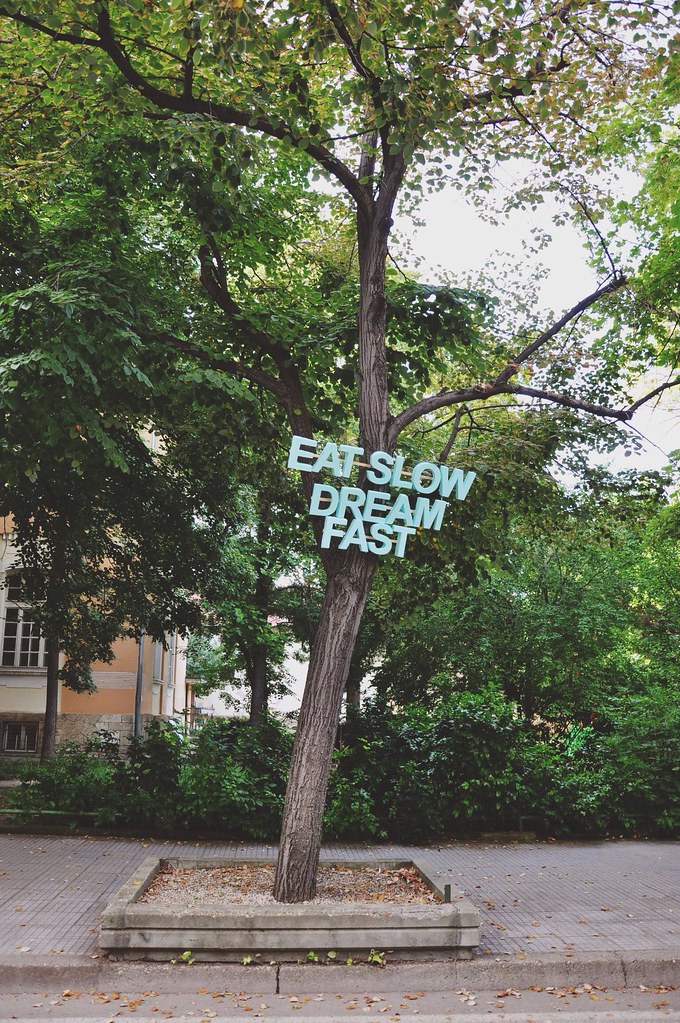
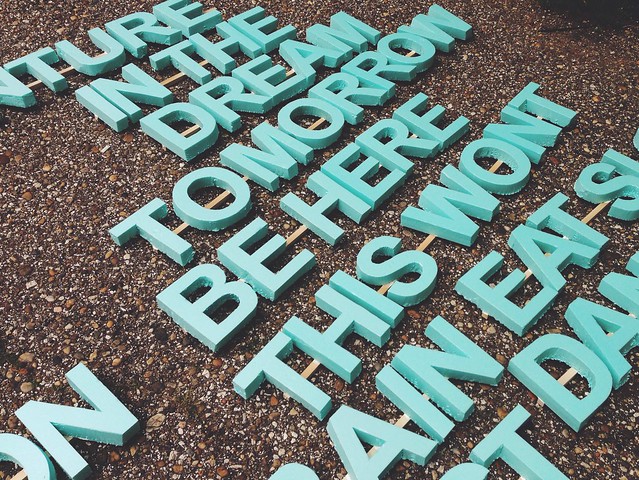
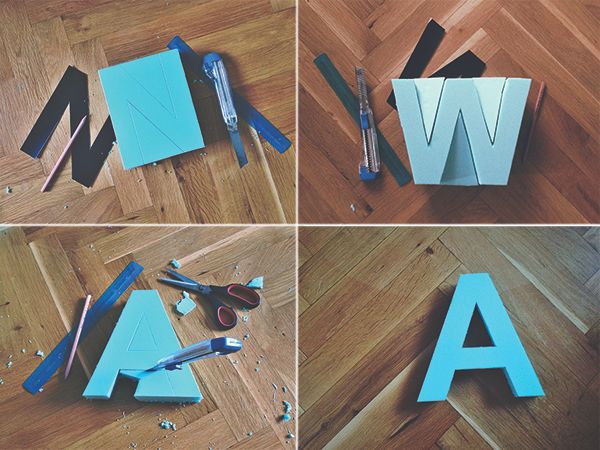
For the letters I decided to use a material called Fibran, which is basically used in building constructions and industrial applications. It is light, easy to work with and comes in a pretty colour, too. I printed large A4 letters in Arial and cut out paper stencils. I outlined the letters I needed on the fibran plate and used a sharp paper knife to trace the outline. The material I decided to work with feels a lot like compressed foam and doesn't require much effort to cut but is delicate and can easily break or bruise if pushed. It is also thick (which gives a nice 3D look to the letters) and might be a little tricky to keep the perfect proportions of the letters.
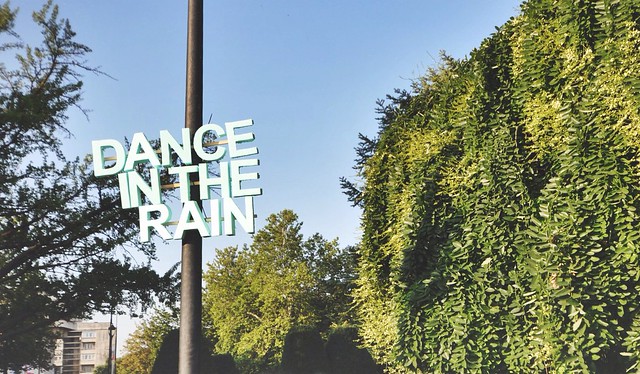
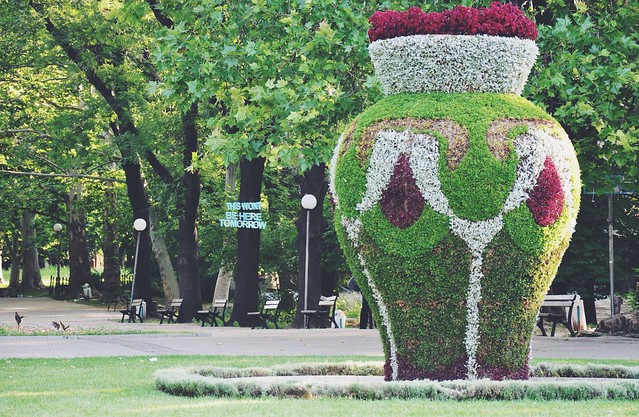
I cut out four different messages: Eat slow dream fast, This won't be here tomorrow, Dance in the rain and Go on an adventure (last one still waiting to be hung on a special place). I then glued the letters to narrow wooden laths and left them all dry for a couple of days.


The toughest part of it all was the installation. Fortunately, I had someone to do all the hard work for me (thanks, mr. Ugl!) and it actually seemed pretty easy from where I was standing, but this is probably because I wasn't on top of a ladder, hugging a tree. We chose the places carefully during the day and waited till it got dark (we didn't have a permission to hang anything, we needed to be extra sneaky!).
We didn't want to tape, glue or damage anything, so we used cable ties to hang our messages.
Тhe people we met during the installation were all so curious and positive about the whole thing, which made me very happy. I didn't know how to answer all their questions, because - honestly - it was just a spontaneous thing. I was often asked about meaning and purpose and I had to come up with a clever answer to that.
The meaning is whatever you want it to be. I don't expect you to take my words seriously and dance in the rain (but then again, why not? It sure will be fun!). I just want you to think about possibilities, nice things, adventures. I want you to see a message and relate to it. To stop for a second and look at it. Take a picture. Feel good.
The purpose?
The purpose is always the same: smile.


I am pretty happy with how things turned out. A lot could have been done better. We will have that in mind next time - but for now - it is all good. 
I haven't got the slightest idea how long will it take before someone decides to take the messages off. If you are in Rousse you might have already seen them. If not - don't worry. New ones will replace them soon. 
Sunday, July 14, 2013

Raw Nut & Date Power Balls


I am going to warn you from the very beginning: this recipe is addictive. There is no making it once, that is for sure, because these little balls taste like heaven. And are probably one of the best pieces of candy you could eat, too.
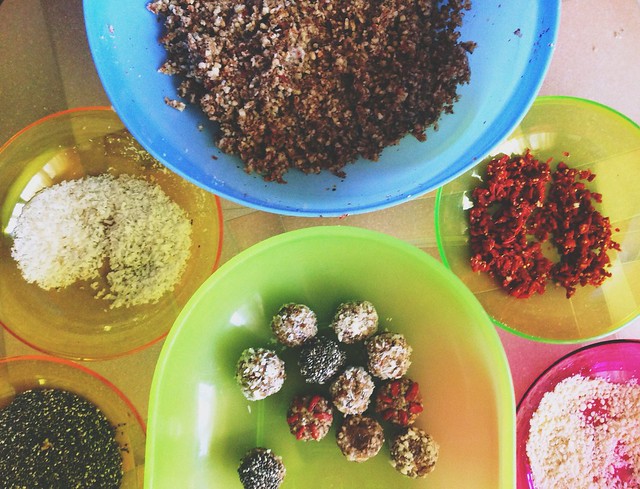
There is no specific recipe for this. I've already played around with different ingredients a couple of times and it works perfectly fine with whatever I decide to add/remove. I will give you a basic ingredient list, but feel free to change it the way you like it best. There is no way it won't work - be brave!

For about 50 power balls you will need:
2 tea cups of raw hazelnuts,
1 tea cup of raw almonds
1 tea cup of white dates
a handful of: goji-berries, raisins, salvia seeds and coconut flakes
3 table spoons of coconut butter

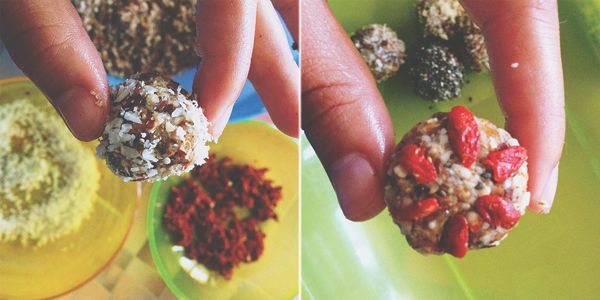
The only thing you need to do is grind the fruit and nuts very good in a blender or a nut-grinder. Add more dates or raisins if you like a sweeter taste, more butter for a creamier mixture, more power foods (goji-berries and salvia seeds) for... well, power.


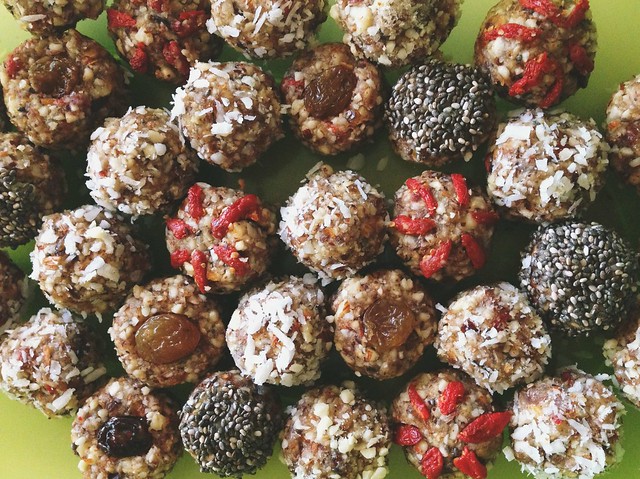
Use the coconut flakes, salvia seeds, goji-berries or whatever comes to mind for decoration. Make a colourful batch! Leave in the fridge for half an hour and there you have it. Easy as this.

These power balls are the perfect treat for any occasion. They can satisfy any sweet tooth, they are very nutritious and high in energy and the best part of it - absolutely raw and natural.
Monday, July 01, 2013

Color me: exhibition for kids


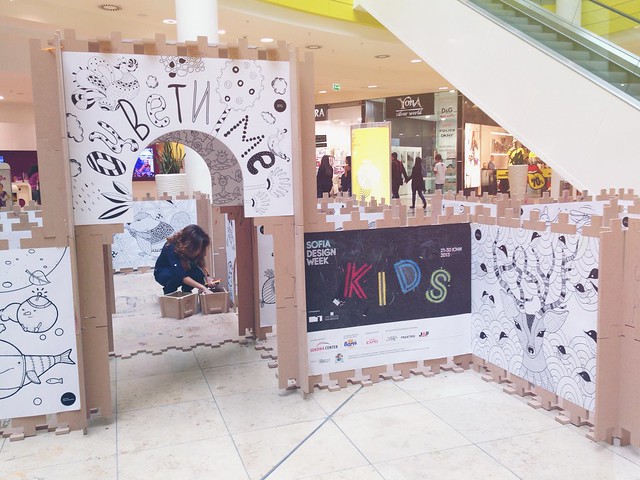
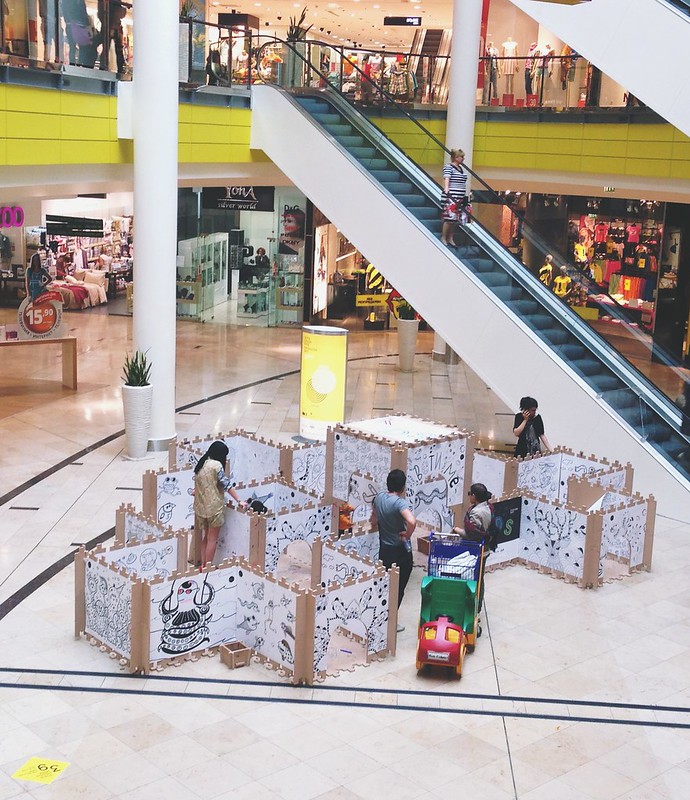
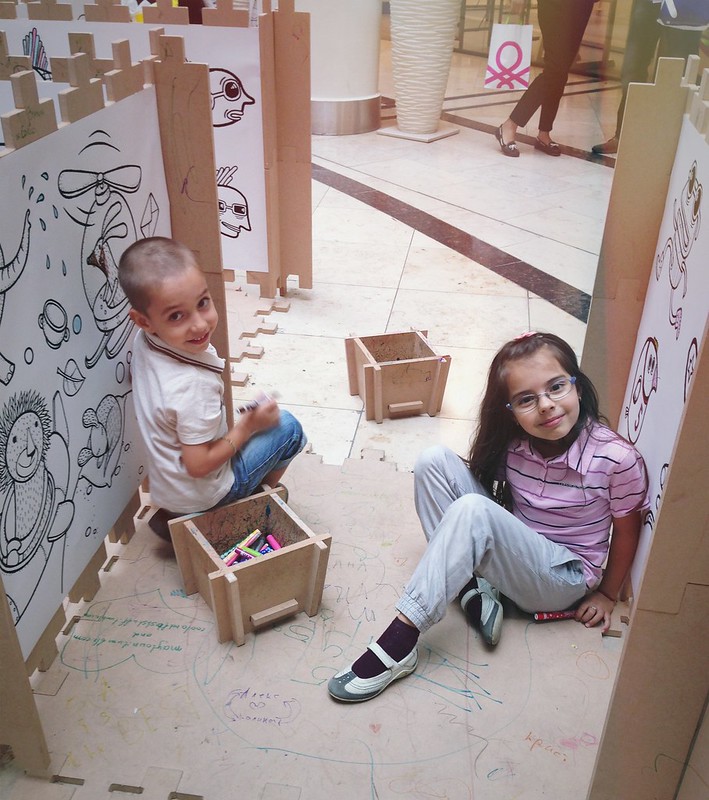
"Color me" is a an interactive exhibition for the little ones, part of Sofia Design Week for Kids. A couple of weeks ago I was contacted by a favourite illustrator of mine and was thrilled when she invited me to take part in all of this.  
I immediately loved the idea of kids having fun with original art. Еspecially in such a wonderful way. А coloring fort sounds like the best place to have fun, doesn't it?
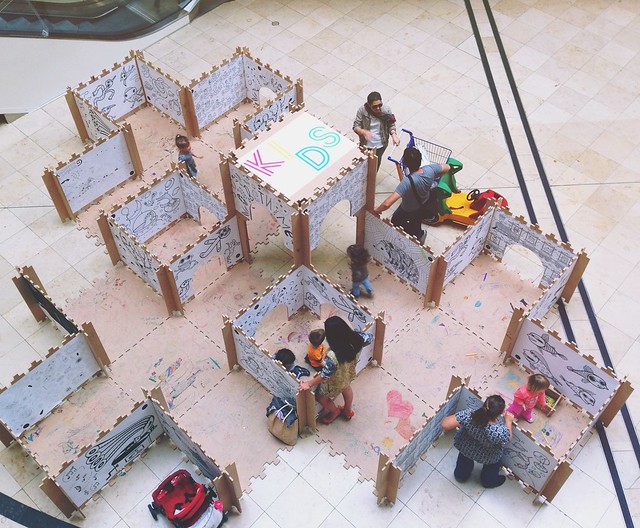
Seven illustrators created different worlds and characters for the kids to choose among and the finished fort looked a lot like Wonderland. The only thing it needed was coloring.
And coloring it got. 


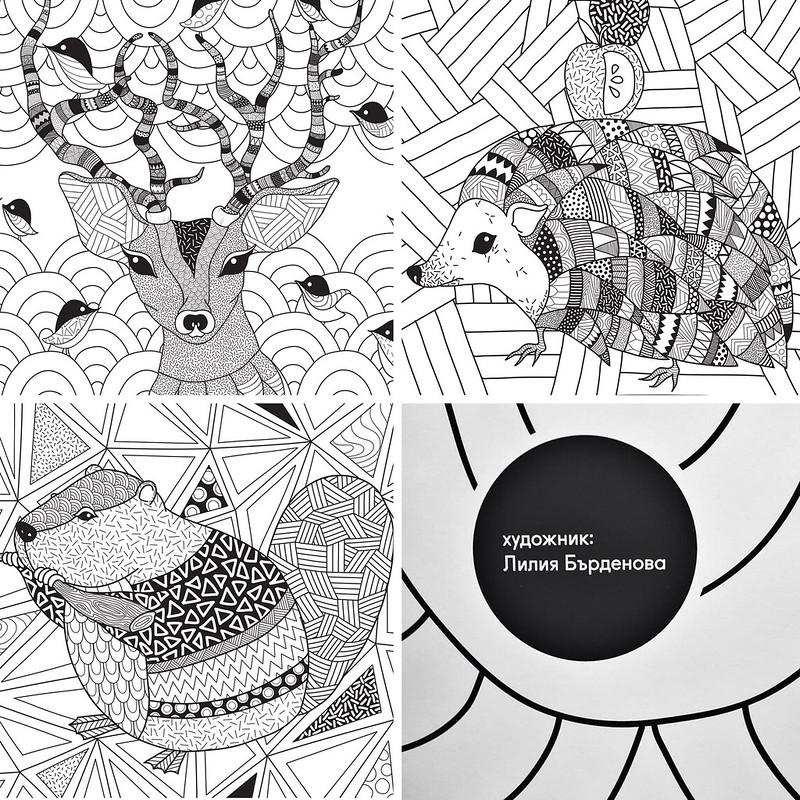
I had to learn basic Illustrator for a day (which was a great thing since I've postponed this for ages) and it was both fun and frustrating at times. I lost sketches, lost a finished project and made two new ones on its place so at the end of the day it was all good. A stag, a hedgehog and a beaver proudly represented my take on Wonderland. 


I was smitten by the finished project, by all the wonderful works and especially by the kids having fun with what we'd all done together. I even took a minute to leave a mark somewhere there, too. 

thank you to Denodada for this lovely photo and also thank you to the cute little girl who is coloring bravely.