I'm a collector.
I collect too many things all at once: old coins, stickers, notes, magnets. Ah,
magnets. I get a little excited every time I visit a new country just because I get to spend some time picking the most beautiful ones. And because I'm not planning a trip anytime soon - why not creating some handmade magnets?
The materials needed are simple: easy-dry clay, paint and brushes, neodymium magnets, quick-dry glue, pencil and permanent markers for the final decoration.
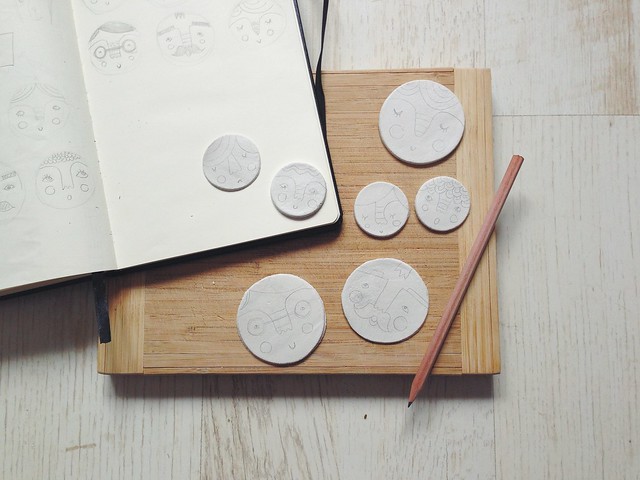
First off, you need to decide what shape your magnets would be. I was lazy, I admit it, so I only cut a couple of circles out of a thin layer of clay and left them on a flat surface to dry overnight.
Once the clay had completely dried off, I started lightly sketching my designs on with a pencil. You might skip this step and start colouring right away - I just wanted to have some guides. If you use a pencil though - don't get too serious. Erasing it from the clay is a little difficult and leaves smudges on the surface that wouldn't look cool unless you cover them with colour.
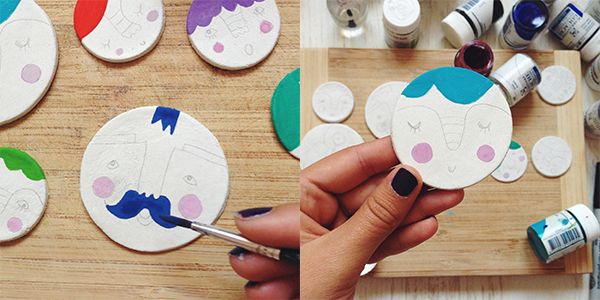
I used poster paint because it is permanent and because it hardly loses its color intensity over time. I am not sure if watercolours would be a good idea, since the clay is also water-based, but play around - it might work as well. Or you could try permanent colour markers.
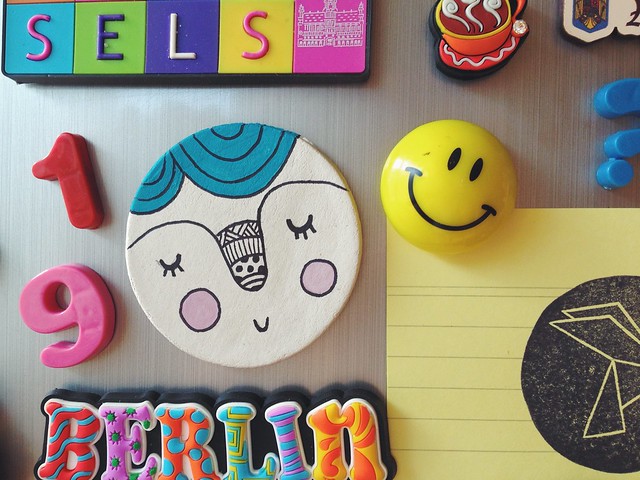
It takes a couple of minutes for the poster paint to dry, so by the time you've painted your last magnet (if you're making, like, more than three) the first one would be ready. You can then add outlines and textures using permanent markers. And only one more thing before your magnets are good to go - because, let's face it, they're not yet magnets. Take your easy-dry glue, dab a generous amount of it on the backside of your work and stick on the magnet. A couple of seconds later you're absolutely ready!
Have fun creating your own fridge magnets and don't forget to share them! :)
